Tasks I do to prepare for a journey & the few things to check for the return trip
First off, about once a month I check the fluid levels in my 4 deep-cycle “house” batteries, and check the fluid level in my engine battery about every few months. I check the battery connections and surrounding area to make sure that there is no corrosion. I check the battery post connections to make sure that they are tight (and, do not over-tighten). There’s more in my “House & Battery Maintenance” Project post HERE. Otherwise, since we use our RV frequently, I do the following steps to prepare.
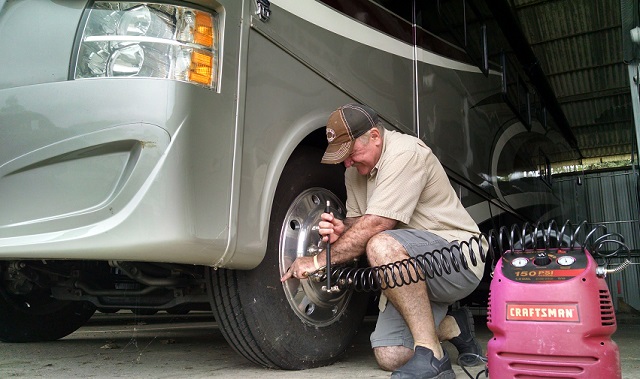
Though there are tire pressure monitoring systems that many use, I still go around and check the pressures of each tire, before leaving on a journey, and before the return trip home. Since I haven’t weighed the coach (fully loaded with fuel, water, supplies etc), I go by the manufacturer’s placard that is on this coach’s entry door. When I had trailers, I would usually put in about 5 pound less than what was written as the maximum tire pressure(on the tire). Checking the tire pressures, usually, only takes about 5 minutes (unless I need to use the pump to top off a tire, or two).I also take a look at the tires, inspecting for any side-wall and tread cracks.
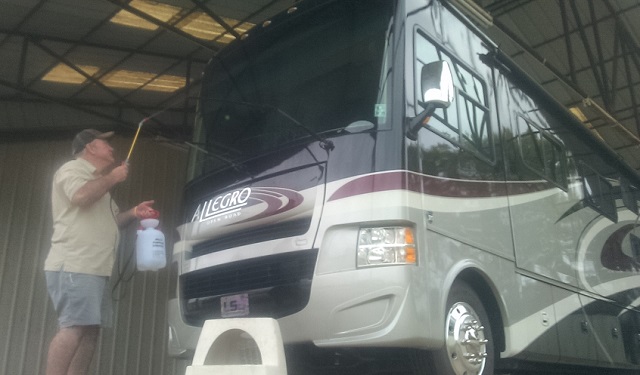
I like to start out with a clear view for the drive. I use an inexpensive pump sprayer, filled with water, to spray (soak) from top to bottom over the front end.
I use a few cleaning tools, including a windshield scrubbing pad on an extendable pole (if the glass has bug splatters). Otherwise, I use 100% cotton pads on an extendable pole for the painted areas, and can use micro-fiber pad on the glass areas. Once I am satisfied that it’s fairly clean, I choose to use Lucas Oil Slick Mist spray on a cotton pad on the painted areas above and below the windshield.Sometimes, I use a window cleaning product on the windshield.The front end pre-trip prep takes about a half-hour. I’ll clean the mirrors and driver and passenger sides front windows.
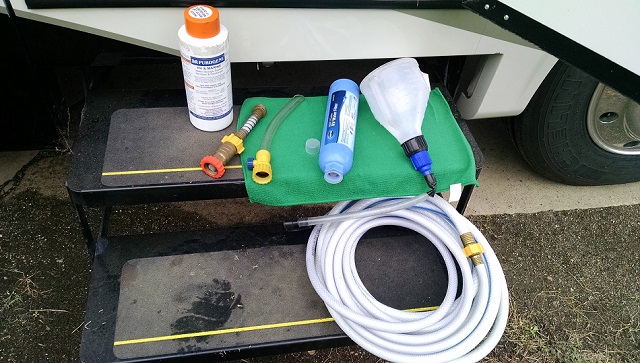
There are times that I trust the water supply at an rv park, or state park, but mostly I fill our RV fresh tank with filtered, and lightly treated, water. If I’m using the fresh tank, sometimes I’ll fill the tank when I arrive somewhere, but mostly take care of that task before departing on a journey. In the photo is what I use. L-R: Purogene RV water purifying treatment, water pressure regulator, water tank fill spout, portable water filter, container that I use to mix water with the Purogene to install in the fresh tank & my fresh water hose.I’ve experienced bad water that contaminated the fresh tank in one of my previous RVs, & had to remove the fresh tank to get all of the “growth” out, so since that time, I take steps to put in good water, and use a treatment to keep the tank water as good as possible.
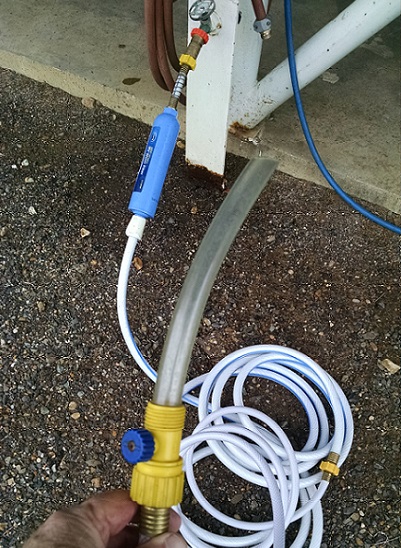
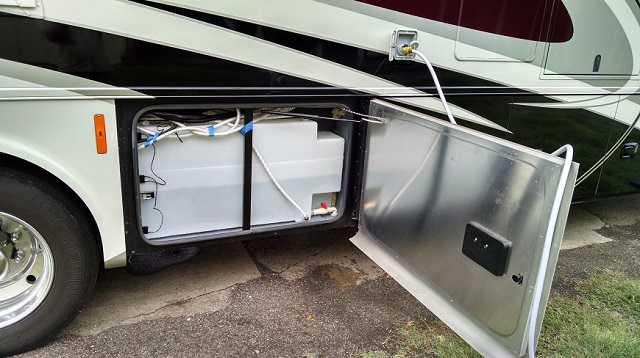
The water regulator, filter, hose and fresh tank fill spout are connected and ready to use.
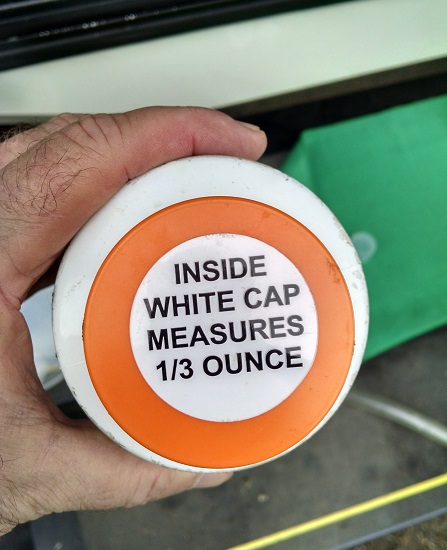
I use Purogene that I order from BayTec Containers. I follow the instructions for usage that are listed on the side of the bottle (1 oz for every 30 gallons), and the instructions on the cap explain the measurement to use. I keep a 32oz bottle of Purogene in the coach, and it’ll last me for about 6 months or more (depending on how many trips we take).
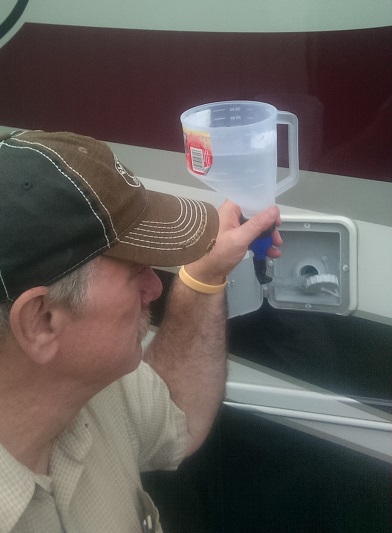
I put water in this mix container (inexpensive) and put in the small amount of Purogene, followed by putting the mix in the fresh water tank fill area.
I turn on the water supply faucet, and insert the water hose filler into the fresh water tank fill area. I’ll fill the fresh tank (that you see) to about a half inch below the top of the tank. Regulated water pressure keeps the tank from getting too much pressure and exploding (I learned from someone else’s mistake on their RV while they were at high water pressure fill area). I make sure the air relief area next to the fresh water fill area, is clear and working properly.
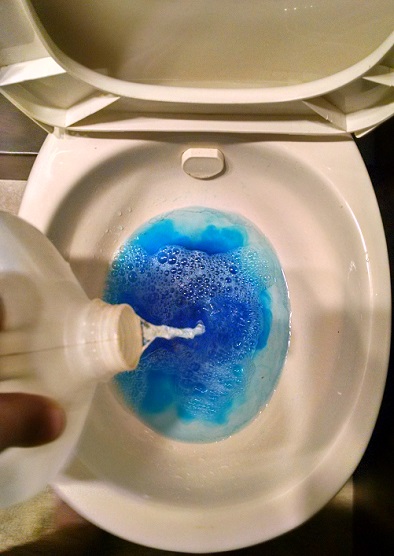
Once the fresh tank is full, and before I put away the water hose, I use the water hose to fill old gallon water jugs as I prepare the black tank. I put in one gallon of water into the toilet, and then pour in a packet of my tank chemicals (folks use different stuff for this). I flush the chemicals into the black tank. I’ll add 2 more gallons of water only. Then, just one more gallon, and one more chemical packet. So in, what was an empty black tank, is now 4 gallons of water with the chemical mix. Easy job. Takes 5 minutes
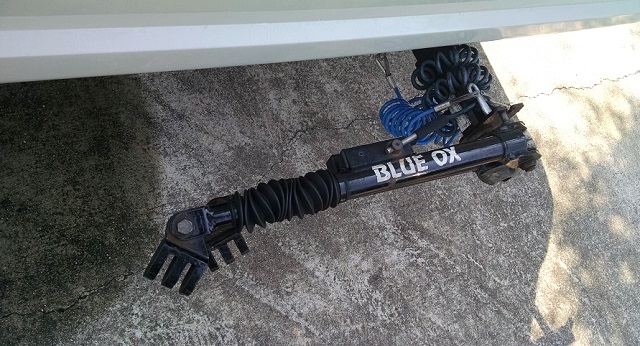
I, usually, check the hitch that connects to the Jeep, as part of my pre-trip preparations. I look the hitch over, but also hitch receiver that goes underneath the rear of the RV. I look for any weld fractures and make sure any bolts look secure. I check the wiring connections for the Jeep lights and brakes, and make sure that they look secure. This, usually, only take a minute or two. I’ll, also, check the hitch baseplate and wire connections on the Jeep, for any possible issues, but that’s very rare. I service this Blue Ox hitch about twice a year. Easy job that takes only 15-20 minutes. I’ll cover that in a future Projects post. I do a quick check of the hitch, when departing from a destination, and hooking up the Jeep for a return trip.
__________________ We welcome you to check out some of the places that we enjoy exploring around the ArkLaTex region and… beyond the outer parameter. Visit our Journal page HERE __________________ You’re Trippin’ With Tom & Teri. Our location is a space in time. No matter where you go, there you are, and at the moment, We Are HERE. __________________ Tom shares some of our motorhome preparation, maintenance & projects…along with expecting the unexpected. Visit our Projects page HERE __________________ Also, visit us at TomsMaHauL on Facebook HERE __________________ We’re checking our email inbox, and checkin’ it twice. We’ll check it again, to see if you checked in. Email: info@TomsMaHauL.com